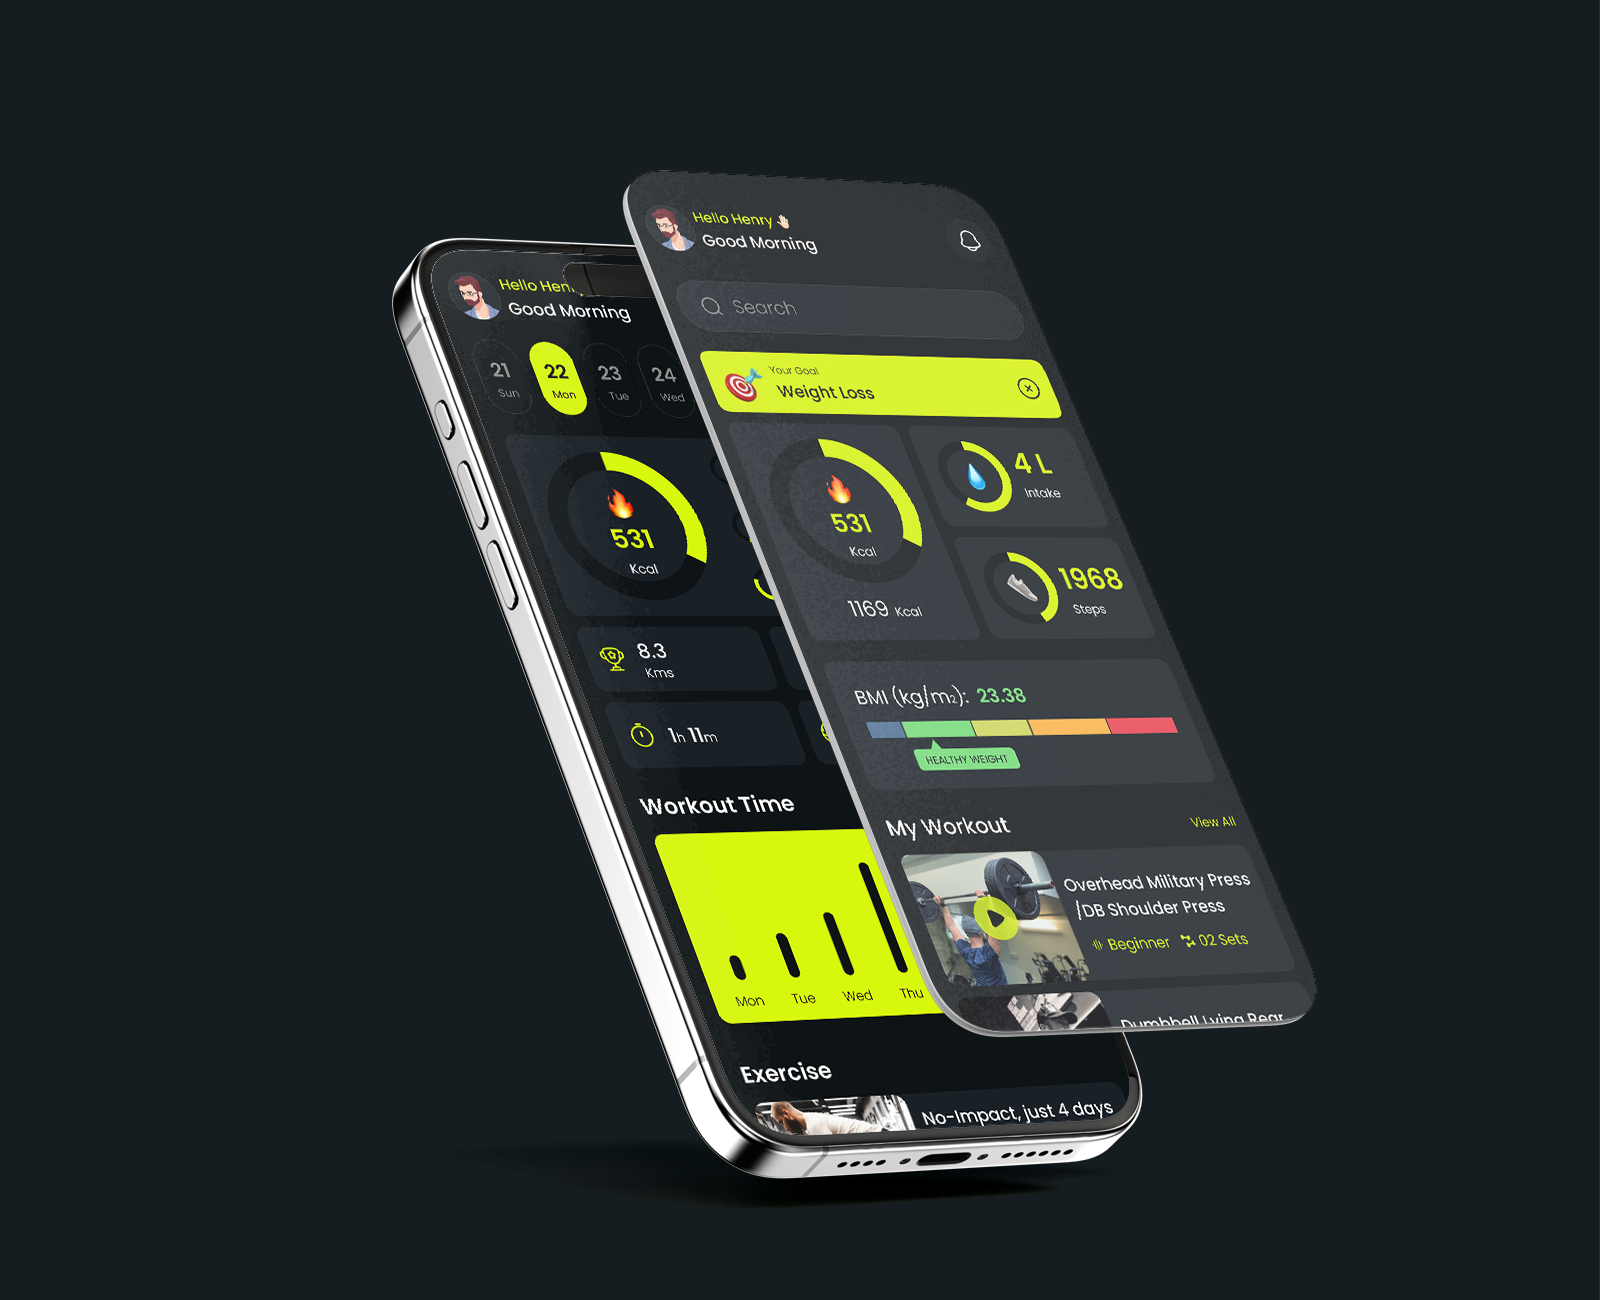
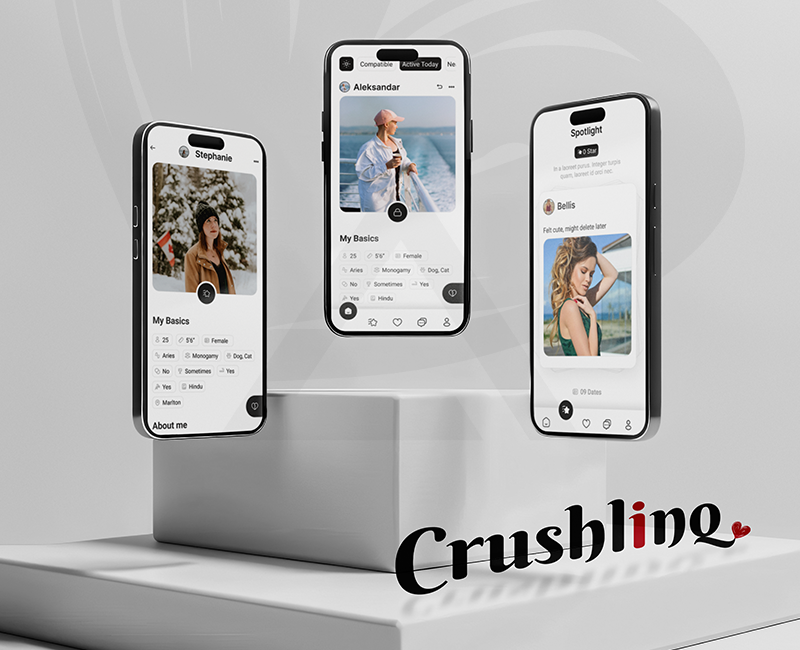
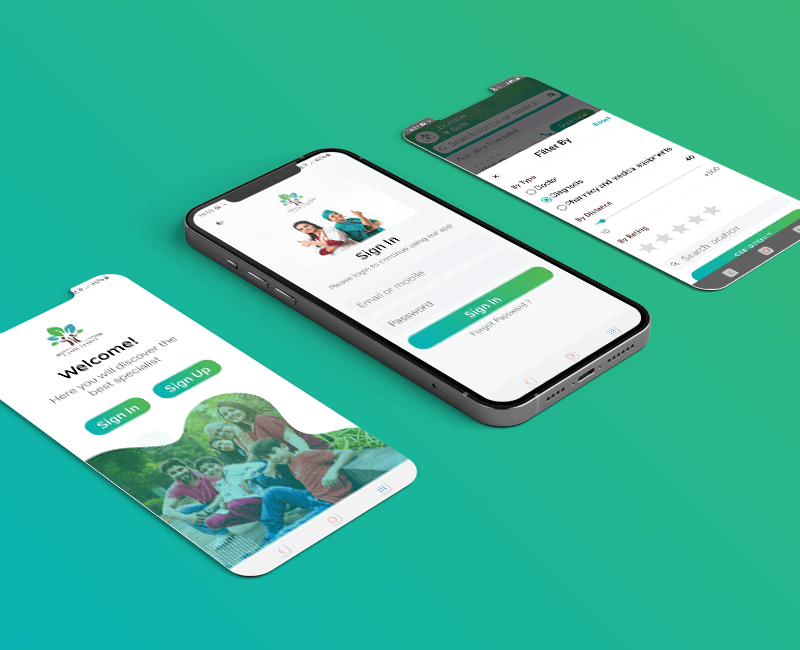
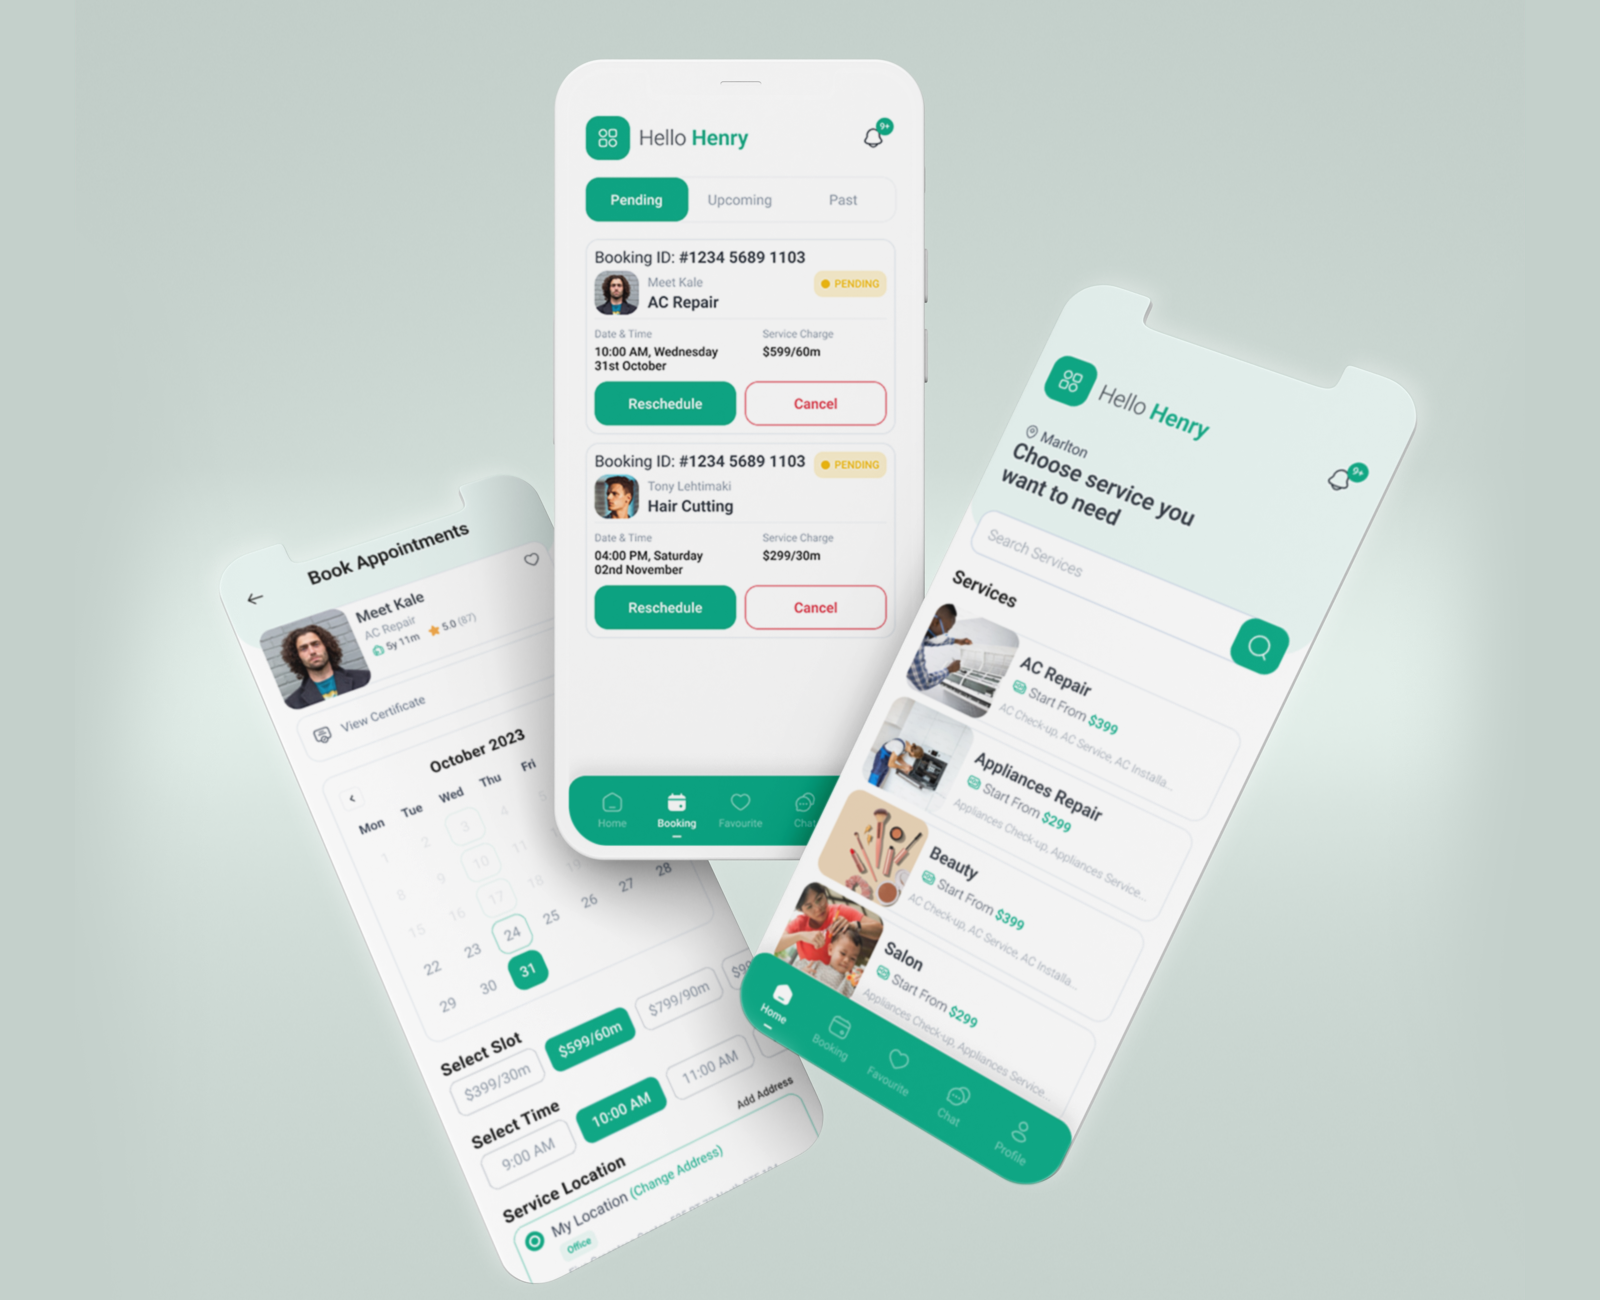
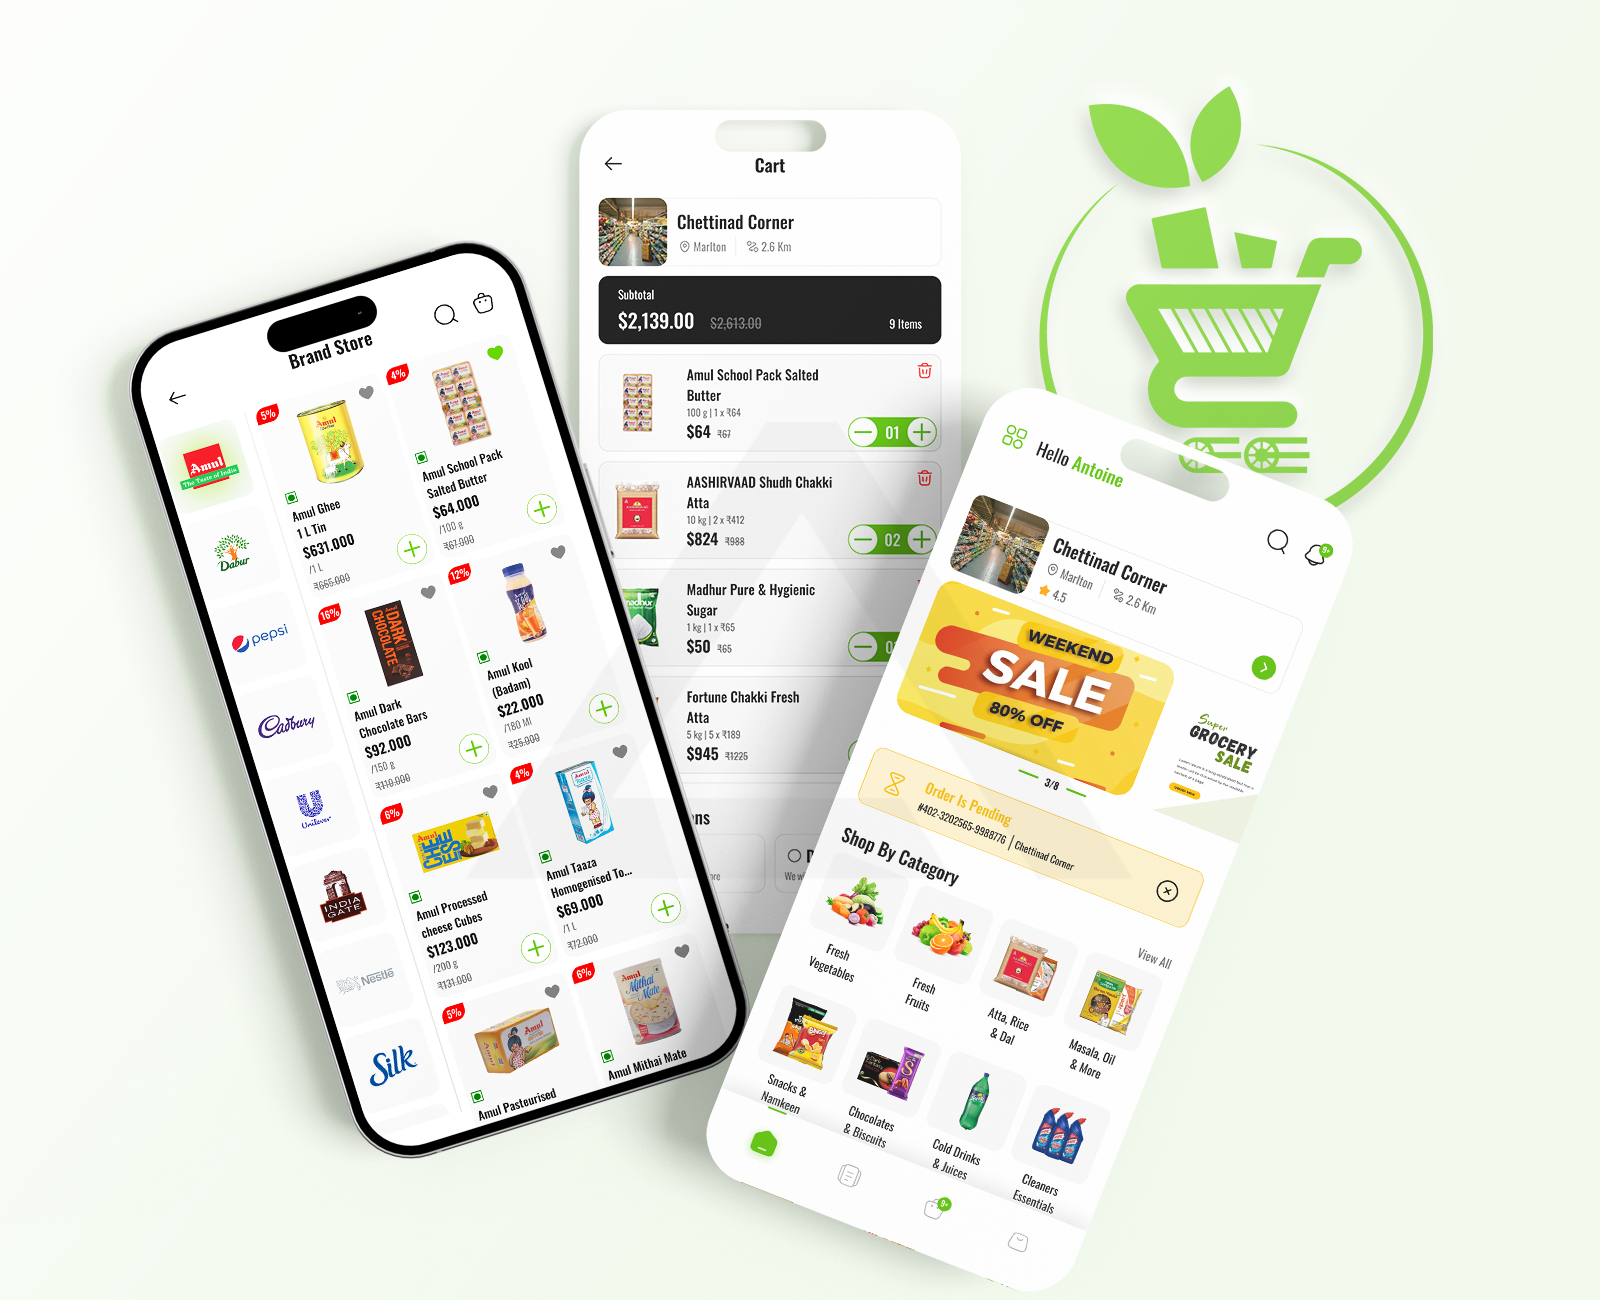
Our Finest Works
Showcasing the brilliance behind our unique solutions.
01
02
03
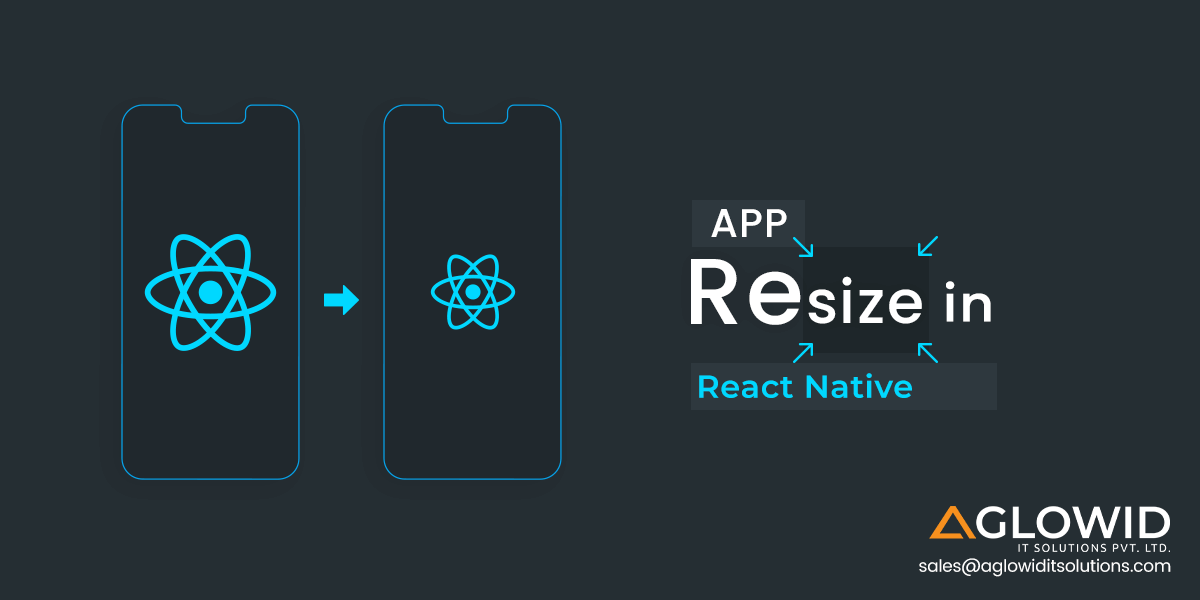
We provide expert React Native consulting for seamless cross-platform app development and enhanced user experiences.
Tailor your app with our expert developers and flexible hiring options.
We specialize in developing iOS apps using React Native, focusing on delivering strong performance and a great user experience.
We specialize in React Native for Android app development, ensuring efficient performance and a seamless user experience.
Develop hybrid apps for SMEs, combining native and web technologies with our proficient developers.
Enhance functionality with customized React Native components and seamless API integration.
Keep your app bug-free with our reliable maintenance and support services.
Protect your app from vulnerabilities with our specialized security services.
Start work in 48 hours
Duration
Minimum Days
30 Days
Billing
Monthly
Start work in 72 hours
Duration
8 Hrs/Day
Minimum Days
30 Days
Billing
Monthly
Start work in 48 hours
Duration
80 Hrs/Month
Minimum Days
30 Days
Billing
Monthly
Pick the right engagement model as per your custom project needs – Full-Time, Part-Time or Hourly.
Pick the best candidates as per your project from our top React Native Developers' Profiles to continue.
Interview the selected candidate to assess their skills via theoretical & practical questions.
Now, the selected final candidate will onboard your team within 24–48 hours after final confirmation.
Integrate React Native app developers in 48 hours for a quick project kickoff.
Pre-vetted and screened top 1% React Native app developers for your project.
Collaborate without worrying about time-zone barriers.
Upscale or descale your team as per your dynamic project needs.
Signed NDA, and pay-as-you-go model with no long-term lock-in.
Our developers stick with us, your project is in safe & reliable hands.
Seamless integration of React Native apps with your existing systems.
Ensure coding best practices are integrated into every React Native project.
Showcasing the brilliance behind our unique solutions.
| In-House | Freelancer | ||
|---|---|---|---|
| Hiring Model | Full Time | Monthly, PartTime & Full-time | Weekly, Hourly |
| Time to Get Right Developers | 4 - 12 weeks | 1 day - 2 weeks | 1 - 12 weeks |
| Time to Start a Project | 2 - 10 weeks | 1 day - 2 weeks | 1 - 10 weeks |
| Recurring Cost of Training & Benefits | $10,000 -$30,000 | 0 | 0 |
| Time to Scale Size of the Team | 4 - 16 weeks | 48 hours - 1 week | 1 - 12 weeks |
| Pricing (weekly average) | 2.5 X | 1.5 X | 1 X |
| Project Failure Risk | Low | Extremely low, we have a 98% success ratio | Very High |
| Developers Backed by a Delivery Team | Some | Yes | No |
| Shadow Resource | Costly | Yes | No |
| Project Manager | Extra Cost | Minimal cost | No |
| Query Support | High | 24 Hours Assurance | No |
| Tools & Environment | Depend on Team | High | Uncertain |
| Agile Development Methodology | May Be | Yes | No |
| Impact Due to Turnover | High | None | High |
| Structured Training Programs | Some | Yes | No |
| Communications | Seamless | Seamless | Uncertain |
| Termination Costs | High | None | None |
Clientele

Testimonials
Talk To Us

 Say
Say