Quick Summary: Node js Microservices is acceptable by serious supporters of this design, practically everything that mentions “microservices.” Microservices in Node, sometimes called microservice-based architecture, are small, self-contained units that support the creation of complicated applications. The functionality is divided into a small group of services using APIs to integrate the application in a node microservices architecture. The method allows for the independent updating and scaling of application components.
One of the most popular frameworks for today’s microservice architecture is Node. Developers can split up the major components using the microservice approach. You can upgrade or replace components without affecting the overall application because each runs independently. Each component makes an interface available to outside users unaware of the service’s core logic.
Dynamic programming is necessary when creating a JavaScript application for the real world since new features and bug fixes are frequently provided. As a result, the JavaScript application’s size expands over time. It is crucial to break up the huge structures into digestible chunks to operate the program smoothly. This blog will provide some insight into the advantages of using microservices, explain why it makes sense to create applications based on node microservices, and provide instructions for creating a simple microservice using NodeJS.
Let’s begin!
What Are Microservices in Node Js?
Compared to the monolithic method of software development, in which the application is constructed as a single unit, a microservice is a software design pattern in which the entire application is built from a collection of connected services.

These services are isolated from one another, have a single function, are loosely connected, and may be deployed independently. Because of this, the creation of complicated software is sped up by microservices. But they may be better. What are microservices benefits and drawbacks? Let’s look at them.
Pros & Cons of Microservices
As with any other decision, you must consider all the pros and cons. Let’s take a close look at the advantages & disadvantages of microservices to see if this technology can fulfill your project requirements.
Pros
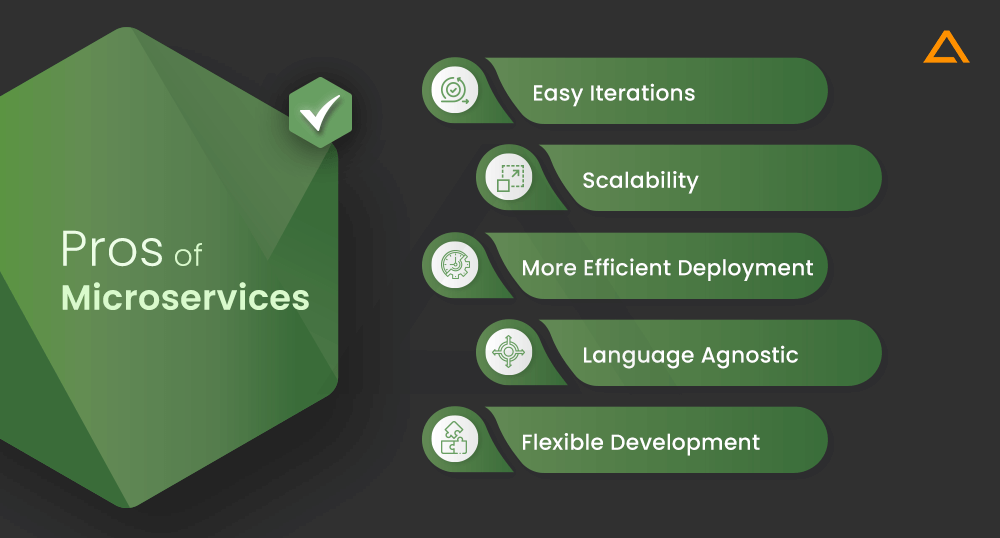
- Easy iterations: Developers can iterate over microservices separately that are not restricted by another component.
- Scalability: If an application is built using microservices, it is easier to divide the responsibilities among the developers, making it more efficient to support a complicated program in a big team.
- More efficient deployment: Unlike with a monolithic architecture, whenever a microservice needs to be updated, there is no need to deploy the entire application. The only requirement is to release a REST-ful API for other services.
- Language agnostic: There is a lot of development freedom because microservices may be created in several programming languages.
- Flexible Development: The flexibility and efficiency of development, testing, and maintenance are increased when applications are built using microservices because developers can concentrate on clearly defined modules.
Cons
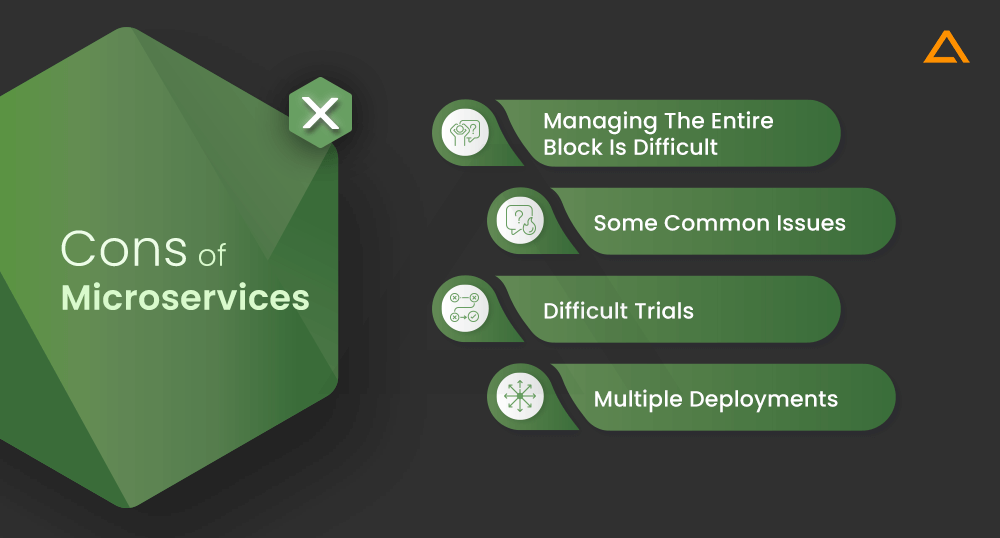
- Managing the entire block is difficult: The flexibility and efficiency of development, testing, and maintenance are increased when applications are built using microservices because developers can concentrate on clearly defined modules.
- Some common issues: Caching, logging and other issues affecting the entire application are easier to solve in monolithic architecture because only one application needs to be taken care of.
- Difficult trials: The same issue arises while testing. At the same time, it may appear more effective to evaluate each microservice separately. Monolithic programs enable end-to-end testing and are typically faster at identifying faults.
- Multiple deployments: Developers must manage one deployment when dealing with monolithic applications. However, several deployments may be needed for microservices. For developers, fewer deployments can sometimes result in significant time and labor savings.
How Does the Communication Between Microservices Work?
Given that microservices are independent of one another, communication is a critical component that must be carefully chosen. Poor application performance may result from improper communication protocol utilization. The communication protocol you choose must meet the unique requirements of your application.
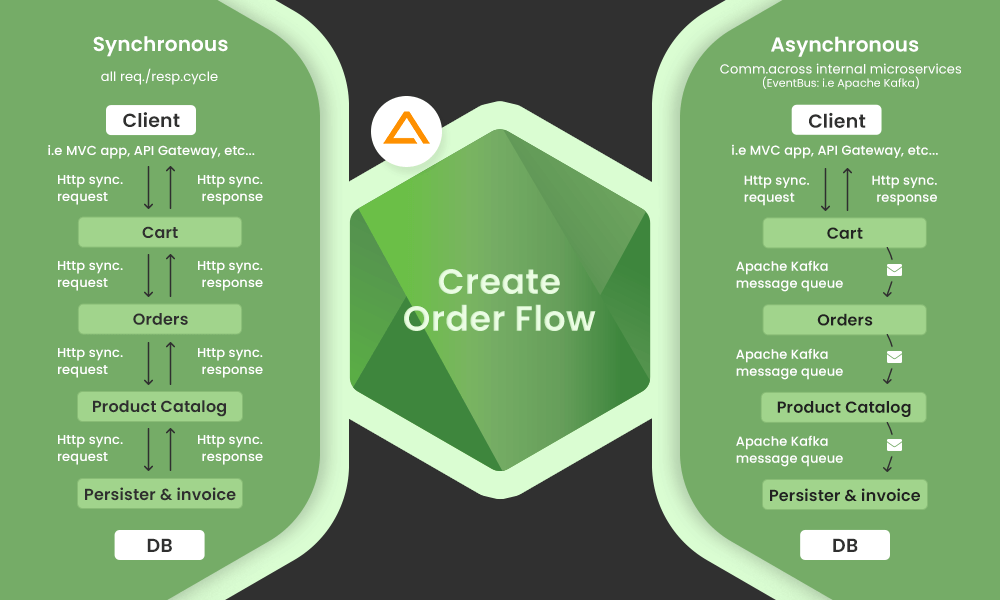
There are two styles of communication from which you can choose: synchronous & asynchronous communication. It is the basis for request-response and event-based models.
Synchronous Style Communication
According to this method, the client sends a request and waits for a response. Because it uses a blocking model, this strategy has a drawback. A read-intensive application primarily focuses on receiving and getting information from the outside. However, it is sometimes an issue. Particularly if real-time data is involved, the synchronous style may be wise in such circumstances.
Asynchronous Communication
Another choice is asynchronous communication, which is a non-blocking paradigm. Asynchronous communication is advised over synchronous communication if a resilient microservice is required. In this case, the client makes a request, gets an acknowledgment of it, and then forgets about it. This method is the best choice for a write-intensive application that cannot afford to lose data records.
Now that it is clear how microservices communicate, let’s move on to why you should use Node.js for developing microservices.
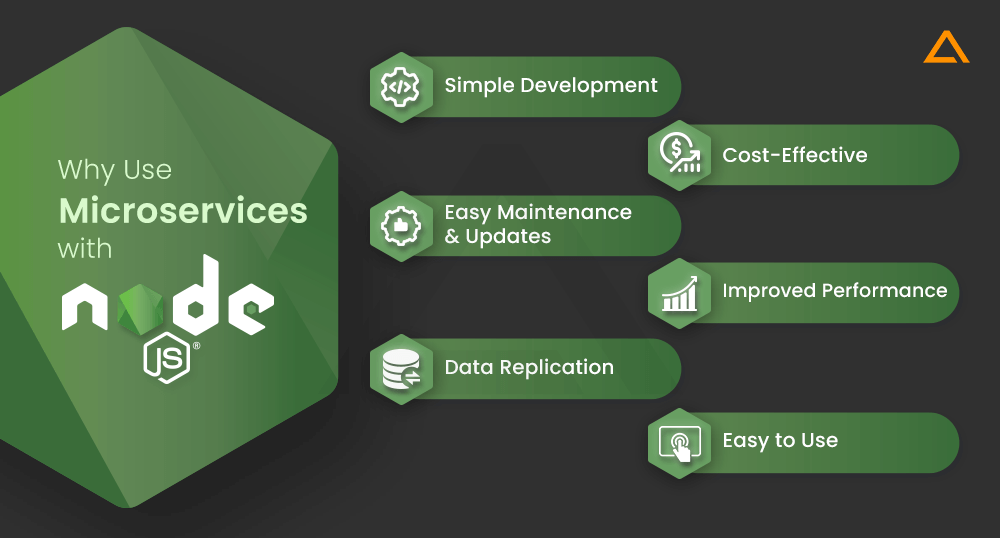
Why Use Microservices With Node.Js
Node.js’s vast database of numerous JavaScript modules makes large-scale application development much simpler. Software developers creating JSON API-based, I/O-bound, data streaming, single-page, and data-intensive real-time apps choose Node.js as a technology partner.
Simple Development
Considering how complicated they are, large-scale systems are challenging to comprehend, create, and maintain. Because they are divided into smaller, independent components with Node.js microservices, those systems are now very simple to update, deploy, and maintain. When workflow development is streamlined, developers should refrain from interfering with one another’s work. Just the pertinent areas of the application being created are being worked on.
Cost-Effective
To reduce time to market, Node.js is excellent for microservices architecture since it enables programmers to build compact components that are simple to integrate into a continuous delivery pipeline. The ability to scale only the components you require using Node.js microservices allows you to save time, effort, and money.
Easy Maintenance & Updates
The modular method used by Node.js for application development enables programmers to employ the microservices architecture for quicker and easier step-by-step updates. Additionally, developers will be fine with maintaining the Node.js microservices system because it is loosely related and independent. The lack of intricate monolithic code makes the procedure simpler. This makes it simple for developers to add new features to the app. Instead of spending much money on extensive large-scale rewriting, they can incrementally improve the system even when making updates. The capabilities of Node.js, which allow for a service-oriented and modular framework, enable this method.
Improved Performance
Developers can immediately use Node.js’s package management, which has several modules. Their application development process is greatly streamlined as a result. Furthermore, JavaScript is used in Node.js apps. As a result, interface designers can modify the programs as needed and easily comprehend what is happening. Stack-wide, a single language may be employed. Developers can also use the same modules for the external interface and the backend. With the process being more productive, they can save an amazing amount of time.
Data Replication
For microservices to function well with node.js, data replication is crucial. NoSQL databases are another resource for developers to use. The conventional tabular database paradigm has an alternative in the form of this. The advantages of this functionality can be enhanced by developers using Node.js. The market frequently offers it for nothing. Because of JavaScript’s low learning curve, Node.js’ flexibility and scalability, as well as its support for APIs and simplicity of microservice development, organizations stand to gain from these technologies, and developers will be able to produce business-oriented applications that achieve business objectives.
Easy to Use
Compared to other programming languages, NodeJs is simple to install and maintain. Given that there are no complex configuration settings needed, it is simpler. Using frameworks like Express, Sail, and Hapi, Node.js enables you to create and configure APIs easily. The most frequent methods for communication between microservices are API requests and message brokers. Node.js is the greatest choice for distributed systems overall, and most contemporary message brokers interact with it quickly and efficiently.
Also Read: Nodejs Web Development Frameworks
Developing A Simple Microservices Application With Node.Js
It’s crucial to have a fundamental understanding of JavaScript programming to create microservices for real-world applications using Node.js. Creating microservices with Node.js demonstrates how working apps in your hyperconnected world can perform incredibly well when built with a functional blend of various unique APIs. Let’s develop a Node.js microservice to connect external APIs to comprehend the procedure better. To increase the microservice’s responsiveness and financial efficiency, modifications will be made as the development progresses.
Let’s begin with installing dependencies.
To develop microservices with Node.js, here we’ll use the WeatherAPI service. First, you need to create a free account. Please create a new folder on your desktop for easy access, and name it weathermicroservice.

Once the folder is created, open it in your code editor and confirm that Node is installed using the following command
node -v
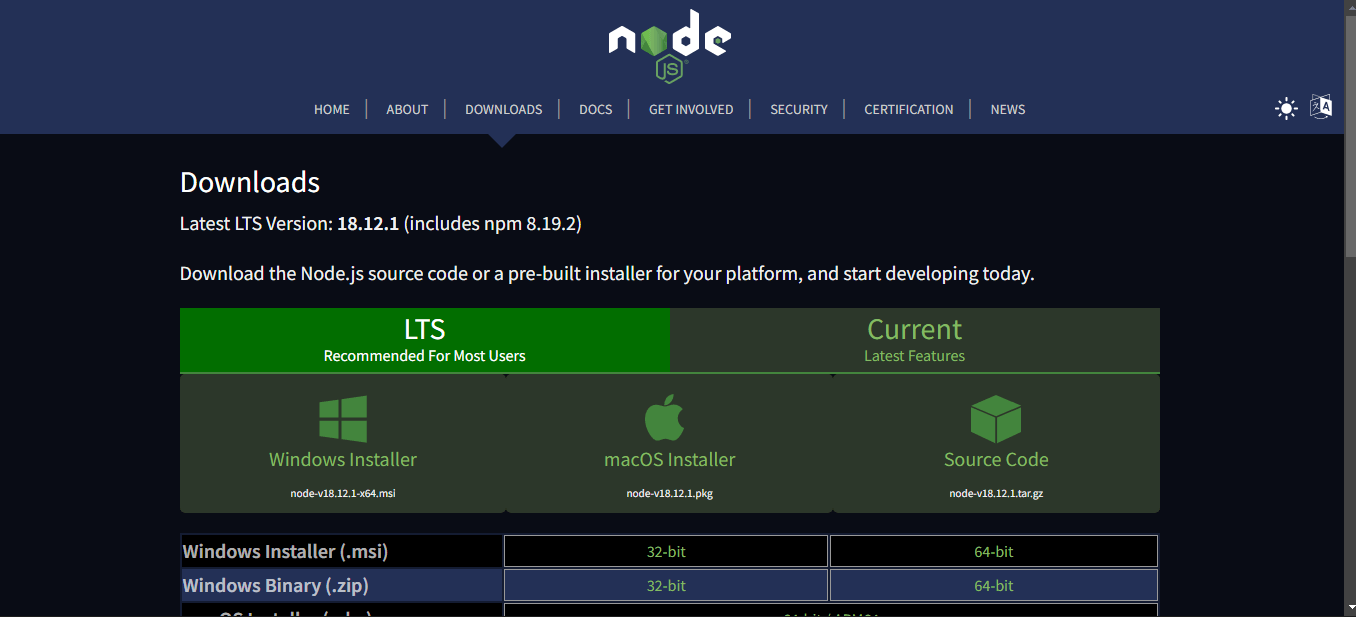
If Node.js is installed, move on to the next step; if it’s not, download it from here.
Once you install Node.js, run the command below to initialize the package.json.
Run npm init or npm init -y
Your package.json file should look similar to the one below.
{
  "name": "weather",
  "version": "1.0.0",
  "description": "weathermicroservice",
  "main": "server.js",
  "scripts": {
    "test": "echo \"Error: no test specified\" && exit 1"
  },
  "author": "Aglowid",
  "license": "ISC"
}
Then create a file named server.js inside the main folder and write the following code
const express = require("express");
const bodyParser = require("body-parser");

const aboutRouter = require("./routes/about");
const weatherRouter = require("./routes/weather");

const PORT = 3000;
const HOST_NAME = "localhost";

const app = express();
app.use(express.static("client"));
app.use(bodyParser.urlencoded({ extended: true }));

app.use("/weather", weatherRouter);
app.use("/about", aboutRouter);

app.listen(PORT, HOST_NAME, () => {
console.log(`Server running at ${HOST_NAME}:${PORT}`);
});
Our package.json file identifies server.js as the main file for our fundamental weather microservice app. Inside the source folder weathermicroservice, we will create a folder named routes. Make two files called “about.js” and “weather.js” inside the “routes” folder. The following code is in the about.js file:
const express = require("express");
const properties = require("../package.json");
const aboutRoute = express.Router();
aboutRoute.get("/", (req, res) => {
const aboutInfo = {
name: properties.name,
description: properties.description,
author: properties.author,
};
res.json(aboutInfo);
});
module.exports = aboutRoute;
In the code above, you need to export the express module, followed by the package.json file, to which we assign the variable properties. Then the express.Router function is called, and finally, we implement our GET route, which returns an aboutInfo containing information about our application as contained in the package.json file. It is important to remember that we have imported the package.json file on the second line of the about.js file.
Once you’re done with the about.js route module, we’ll create the route that handles the weatherinfo request. Before we do that, let’s create the client-side of the application.
Let’s create a basic HTML file that receives user input. Under the main folder of your project, create the folder called client, inside it create an index.html file and add the code below:
<!DOCTYPE html>
<html>
  <head>
    <meta charset="utf-8">
    <title>Test</title>
    <link rel="stylesheet" type="text/css" href="/css/style.css">
    <link href='https://fonts.googleapis.com/css?family=Open+Sans:300' rel='stylesheet' type='text/css'>
  </head>
  <body>
    <div class="container">
      <fieldset>
        <form action="/" method="post">
          <input name="city" type="text" class="ghost-input" placeholder="Enter a City" required>
          <input type="submit" class="button" value="Get Weather">
        </form>
        <% if(weather !== null){ %>
          <h3><%= weather %></h3>
        <% } %>

        <% if(error !== null){ %>
          <p><%= error %></p>
        <% } %>
      </fieldset>
    </div>
  </body>
</html>
We first needed Express and the native https Node.js modules. The Express router function was then called after creating an instance of Express. Our first route, which responds to requests sent to the server by clients, was built using an Express instance.
The response should serve a basic form like the one below :

Once done, we send the index.html file to the client.
res.sendFile(__dirname, + "index.html")
And then, when the submit button is clicked, the client generates a POST request to the server. The server then accesses the body of the request through the request object and saves it into the assigned variables:
const city = req. body.cityName

const unit = req. body.unit
With these parameters in place, we can easily access the Weatherbit API.
const url = " https://weatherbit-v1-mashape.p.rapidapi.com/current"+ city + "&appid="+appiKey+"&units="+unit+""We make a GET request to the Weather API using the Node.js native https module. Next, we use JSON.parse to extract the data from the response body and convert it into an object ().
We finally used the res to get the response back to the client. Write method from the Node.js writeable interface. Now, in your root folder, issue the following command to launch this application:
node server.js
Your console should look like this.

Then go to your browser, preferably, and request port 3000 on the local host.

If you follow every step correctly, you should have a response like the one below.

have a unique app Idea?
Hire Certified Developers To Build Robust Feature, Rich App And Websites.
Wrapping up!
In this article, we tried to illustrate why using node.js to construct microservices is the best option. We have provided examples that walk you through the process of using the weather API with node.js to make it clearer to you. The node.js microservices are so closely tied to one another that they were built from the beginning. The development of scalable applications is the same objective shared by node.js and microservices. High-traffic, complicated applications that are difficult to create and manage as monoliths are best suited for Node.js and microservices.
