Quick Summary: Developing the ideal mobile app for your business can change the way your brand and business is perceived. It can open up many new possibilities for you to connect with a wider audience with more conversions and buzz around your app. In addition, choosing Android as the right platform for your mobile app can expose your app and business to one of the largest marketplaces in the mobile app development world. If you already have an app and want to publish your app on the play store, we have you covered in this in-depth guide on uploading an app to the Google Play Store.
There are more than 2.89 million apps available on the Google Play Store as of today.
Android powers 8 out of 10 smartphones globally. The Google Play Store allows Android developers to upload upto 15 APKs per day. All these stats indicate the widespread popularity of the Google Play Store and the developer-friendly approach to allowing and welcoming developers to publish apps on the play store.
While Android is more open and welcoming for developers to upload their app on the Google Play Store, it isn’t the most straightforward process. Hence, if you have an Android app and you want to upload it on the Google Play Store, you need to follow a systematic and logical process that will help you cruise through Google Play Store publishing with ease. But, don’t worry, we have you covered.
Prerequisites of uploading an app to the Google Play Store
There are a couple of must-haves or essentials to set up to ensure you have the required assets to publish your Android app on the Play Store. Let us take a look at the Google Play Store app publishing checklist –
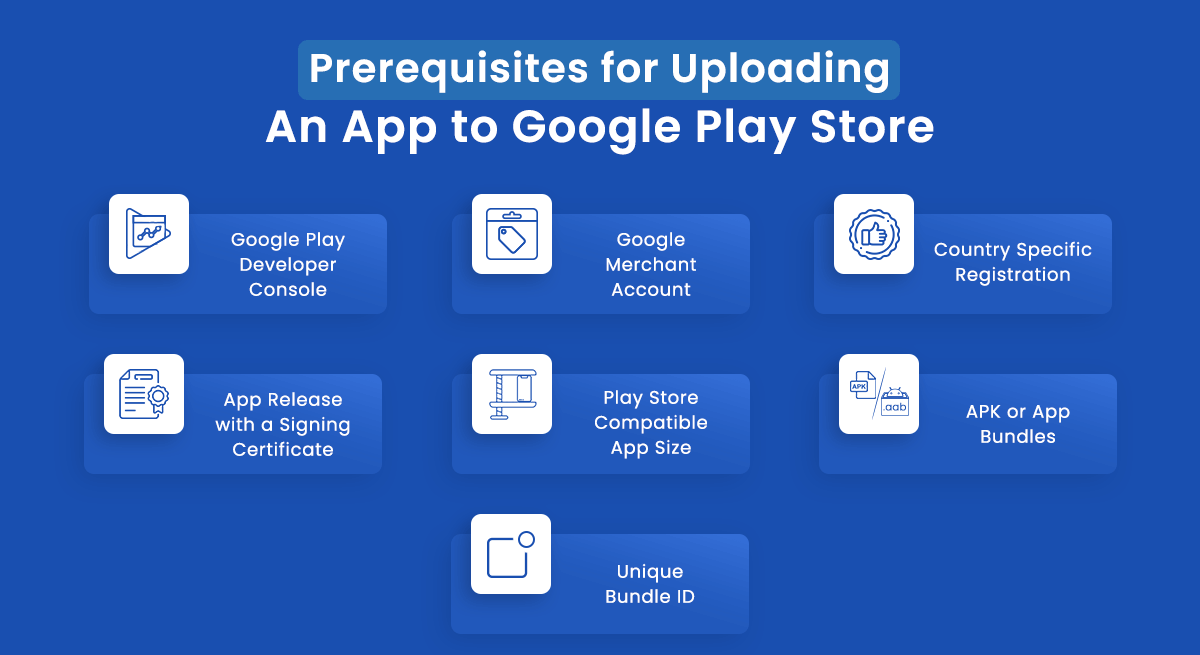
1. Google Play Developer Console
Cost to Setup – $25 one-time fee
Approval Time –upto 48 hours
You will need to first set up your Google Play Developer Console account for uploading an app to the Google Play Store. Google Play Developer Console acts as the backend service where developers submit their mobile apps for publishing on the Play Store. As mentioned above, you need to pay a one-time account-opening fee of $25, after which the developer will be able to create their account with many control features and other functions. Once you pay the joining fee of $25, you can publish your apps on the Play Store for free.
2. Google Merchant Account
Cost to Setup – Free
Approval Time – 3 to 5 months
This step can be optional if you do not plan to include in-app purchases for your mobile app. However, it is recommended to set up a merchant account even if you don’t intend to monetize your app. It would help give you the choice and flexibility of shifting to an in-app purchase strategy later on if you change your mind. Setting up your Android merchant account is relatively easy. Simply log in to your Google Console account, click Reports > Financial Reports> ‘Set up a merchant account now. Once you reach this screen, fill out the asked details. The merchant account automatically links to your console account and act as an effective tool to track and manage your app sales.
3. Be in a supported country to distribute apps
Google Play Store supports most famous countries globally, so most developers often overlook this problem. However, while Google Play Store approves United States, United Kingdom, Australia and Canada, countries like New Zealand and Singapore do not cut. Hence, you need to ensure that your app is registered in one of the supported countries to distribute your mobile app efficiently.
Technical Prerequisites for Uploading an App to Google Play Store
You should be aware of some technical considerations before launching your app on the Play Store. Let us understand them briefly:
1. Signed App Release with a Signing Certificate
Every mobile application on the Play Store should be digitally signed with a developer’s certificate. This certificate is used to identify the developer, and it can’t be generated again.
2. The app size
The set limit for APK file size is 100 MB for Android version 2.3 and higher and 50 MB for Android versions lesser than 2.3. If your app exceeds these limits, you can make use of the APK expansion format.
3. APK vs App Bundles
Android apps can be read in two formats – APK and App Bundles. However, App Bundles is generally the more preferred format. To use App Bundles, you need to enrol in app signing by Google Play.
4. Unique Bundle ID
You need a unique Bundle ID to represent your app. The unique Bundle ID is the unique string that identifies your app to the system. It generally is divided into three parts:
com.example.testapp
where,
example – company/publisher’s name
testapp –appname.
You will not be able to upload an APK on the Play Store with the same package as another app already published in the Google Play Store.
How to Upload App on Google Play Store?
Now that we have discussed and understood the prerequisites needed to upload your app to Google Play Store, we should next discuss the actual process and hierarchal steps to help you know ‘how to upload an app to the google play store’ efficiently effectively. Without wasting any time, let us dive into it –
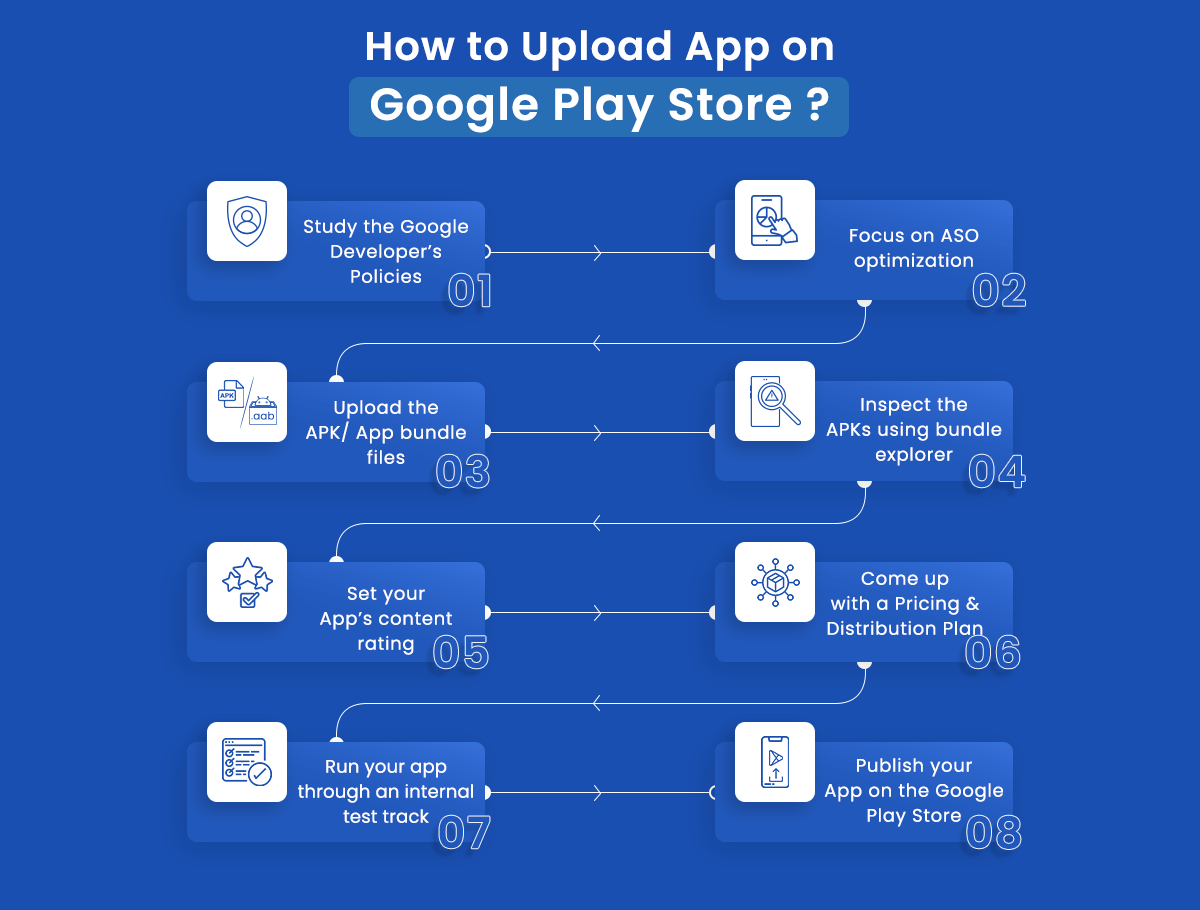
Step 1 – Study the Google Developer’s Policies
If you plan to launch an app on the playstore, it is safe to assume that you already have a product concept ready. The first thing we need to ensure is that every feature of your Android app is aligned with Google Developer’s policies. Google Developer’s policies lay down a certain set of rules and guidelines that explain how apps need to be developed, updated, and promoted to maintain Google Play Store’s high-quality standards.
If your app violates some of the Google developer’s policies, it can be blocked, rejected, or even removed from the Play Store. Also, you should avoid numerous or repetitive penalties as that can lead to a permanent developer account termination. Few things to study in detail about can be –
- Restricted content definition
- Impersonation and intellectual property
- Store Listing rules and promotion guidelines
- Monetization and Ads rules and regulations
- Security, privacy and deception regulation
- Spam and minimum functionality
Step 2 – Focus on ASO optimization
Assuming you already have your Play Publisher account up and running, the first step to upload an app to Google Play Store is by logging into your Google Play Console using your Play Publisher account. For creating a new application, select All applications from the left-hand menu and click on the ‘Create Application button to get started. Next, you need to choose the language and enter an appropriate title for your app in the 50-character limit. Once you fill in these basic details about your app, click ‘Create’ to reach the next page.
You will be welcomed by many questions relevant to your app that you will need to fill on the following app page. Let’s breakdown these information bits needed from your behalf:
- Short Description
- Full Description
- Proper Screenshots
- High-res Icon
- Feature-graphic
- Video link
- Application type
- Application category
| App Information | Description | Content Limit |
|---|---|---|
| 1. Write a crisp Short Description |
|
|
| 2. Market your app with Full Description |
|
|
| 3. Use high-quality screenshots |
|
|
| 4. Ensure your app icon is high-res |
|
|
| 5. Feature Graphic |
|
|
| 6. Add a video link |
|
|
| 7. Declare application type |
|
|
| 8. Label the app category |
|
|
Step 3 – Upload the APK/ App bundle files on Google Play Store.
Once you have all the perquisites in a place like unique bundle ID, signed app release and expansion files in large apps, you should upload your files for release. Go to the App Releases section in the Google Play Console to release your app on the Google Play Store. When you click on App Releases on the console, you are given a prompt to choose the type of release for your Android app. The options to release your app are:
| App Release Type | App Release Description |
|---|---|
| Production | The final release of the live version of your last app to the Google Play Store |
| Beta | Newer and more experimental versions of apps are released for a limited number of testers. |
| Alpha | To be used for quickly testing early yet stable versions of your Android app. |
Once you select the type of release, you will move forward to the next page. Here, you will find a button labelled ‘Create Release’ on the ‘New release to production’ page. Next, you can choose if you want your app to have Google Play app signing or click on opt-out if you want your users to sign in manually. Now, click on ‘Browse Files’ and choose your Android APK or App Bundle files to upload. Now click ‘Review’ located at the bottom right of the page. Pressing this button confirms and submits your app release information.
Step 4 – Inspect the APKs using bundle explorer.
If you plan to upload your file as an Android app bundler, the Google Play Console will naturally split the APKs and multiple APKs for all hardware/device configs your app supports. In addition, using the Play Console, you can check all the APK artefacts Google Play generates. Inspecting this data, as well as a list of supported devices, can help you test your Android app better.
Step 5 – Set your app’s content rating.
Next, we will set our app’s content rating from the content rating page on the Google Play Console. Here you will have to enter your email id and confirm it. Once done, from the options, you should select your app category. Now start filling the survey for your app rating. This helps Google understand if there is some explicit content in your app. Once done, click ‘save Questionnaire’ and then ‘calculate rating’. This will highlight the rating your app will have on the Play Store. Finally, click Apply Rating to confirm your app’s content rating.
have a unique app Idea?
Hire Certified Developers To Build Robust Feature, Rich App And Websites.
Step 6–Come up with a pricing and distribution plan.
Your primary goal is to publish the app on the play store and probably to earn out of it. If you plan to make your users pay for using the app, you need to develop a proper pricing strategy. Another consideration you should keep in mind is if you want your app to be distributed to selected countries or have a worldwide release. To set your pricing, go to the ‘Pricing & Distribution page.
The first option you will get is to choose between keeping your app ‘Free’ or ‘Paid’. After that, you need to select ‘Available’ for the countries you want your app to be available. If your app is suitable for children below 13, tick ‘Yes’ for the primary child detected. If your apps have ads, click Yes for contains ads; otherwise, click no.
Step 7–Run your app through an internal test track
Testing your Android app is very important before uploading an app bundle by leveraging Google Play Console’s internal test track. This new feature quickly shares your app with a finite number of internal testers. You can also test the downloading and installing health status of your app with this internal testing.
Step 8–Publish your app on the Google Play Store.
Now that we have followed all app uploading processes and ensured that each step is thoroughly practised, we can finally upload the app to Play Store. Go back to ‘App Releases > Manage Production>Edit Release’. Now click on ‘Review’ and select the ‘Start rollout to production’ option. Finally, press ‘confirm’, and you are done! Now all you need to do is wait for your app to get approved.
FAQs regarding App Publishing on Google Play Store
1. What are the requirements to upload an app to Play Store?
- Your app needs to be in either APK or App Bundles format
- The size of your APK should not be more than 50MB, however using APK expansion files, you can upload APK to Google Play upto 100 MB.
- You need to have a Unique Bundle ID to represent your Android app.
- A signing certificate
- A developer’s account for distributing app from Google Play Store.
2. How much does it cost to publish an app on Google Play?
You will only have to pay the one-time fee of $25 for setting up your developer’s account. Once you pay this amount, you can publish as many apps on Google Play as you like. (Note: Android supports 15 APKs per day).
3. How many apps can I upload to the Play Store?
The current limit is 15 apps within 24 hours.
4. Is it free to upload the app on the Play Store?
You need to pay a one-time fee of $25 for activating your developer’s account, after which uploading the app on the Play store is free.
5. How to publish a free Android app on Google Play Store?
- Fill up your app information.
- Upload the APK/ App bundle files on Google Play Store
- Inspect the APKs using bundle explorer
- Set your app’s content rating
- Come up with a pricing and distribution plan
- Run your app through an internal test track
- Publish your app on the Google Play Store
“Want to Build a Play Store Compatible App?”
Connect with our Android Geeks and
leverage the Android Expertise.
Wrapping up!
This is your ultimate guide on how to upload an app to Google Play Store. Make sure you go through each step thoroughly and double-check for any loopholes or incomplete action, as it could cause your entire project structure and publishing time a significant delay or ban. Use these Google Play Store app publishing best practices and get your Android app on the market.
Also Check:

 Say
Say